Instalasi
apt updateapt upgradeInstall Apache
apt install apache2(preview) yang terinstall
apache2-bin/focal-updates,focal-security,now 2.4.41-4ubuntu3.1 amd64 [installed,automatic]
apache2-data/focal-updates,focal-security,now 2.4.41-4ubuntu3.1 all [installed,automatic]
apache2-utils/focal-updates,focal-security,now 2.4.41-4ubuntu3.1 amd64 [installed,automatic]
apache2/focal-updates,focal-security,now 2.4.41-4ubuntu3.1 amd64 [installed]
libapache2-mod-php7.4/focal-updates,focal-security,now 7.4.3-4ubuntu2.4 amd64 [installed,automatic]
libapache2-mod-php/focal,now 2:7.4+75 all [installed]
Install PHP
sudo apt -y install php7.4(preview) yang terinstall
libapache2-mod-php7.4/focal-updates,focal-security,now 7.4.3-4ubuntu2.4 amd64 [installed,automatic]
libapache2-mod-php/focal,now 2:7.4+75 all [installed]
php-common/focal,now 2:75 all [installed,automatic]
php-mysql/focal,now 2:7.4+75 all [installed]
php7.4-cli/focal-updates,focal-security,now 7.4.3-4ubuntu2.4 amd64 [installed,automatic]
php7.4-common/focal-updates,focal-security,now 7.4.3-4ubuntu2.4 amd64 [installed,automatic]
php7.4-json/focal-updates,focal-security,now 7.4.3-4ubuntu2.4 amd64 [installed,automatic]
php7.4-mysql/focal-updates,focal-security,now 7.4.3-4ubuntu2.4 amd64 [installed,automatic]
php7.4-opcache/focal-updates,focal-security,now 7.4.3-4ubuntu2.4 amd64 [installed,automatic]
php7.4-readline/focal-updates,focal-security,now 7.4.3-4ubuntu2.4 amd64 [installed,automatic]
php7.4/focal-updates,focal-security,now 7.4.3-4ubuntu2.4 all [installed,automatic]
php/focal,now 2:7.4+75 all [installed]
Install extension/module
sudo apt -y install php7.4-common php7.4-mysql php7.4-xml php7.4-xmlrpc php7.4-curl php7.4-gd php7.4-imagick php7.4-cli php7.4-dev php7.4-imap php7.4-mbstring php7.4-opcache php7.4-soap php7.4-zip php7.4-cli php7.4-intl imagemagick git unzip zip libgd-dev libapache2-mod-php libphp-adodbPengujian web server dan php
Buat sebuah file html
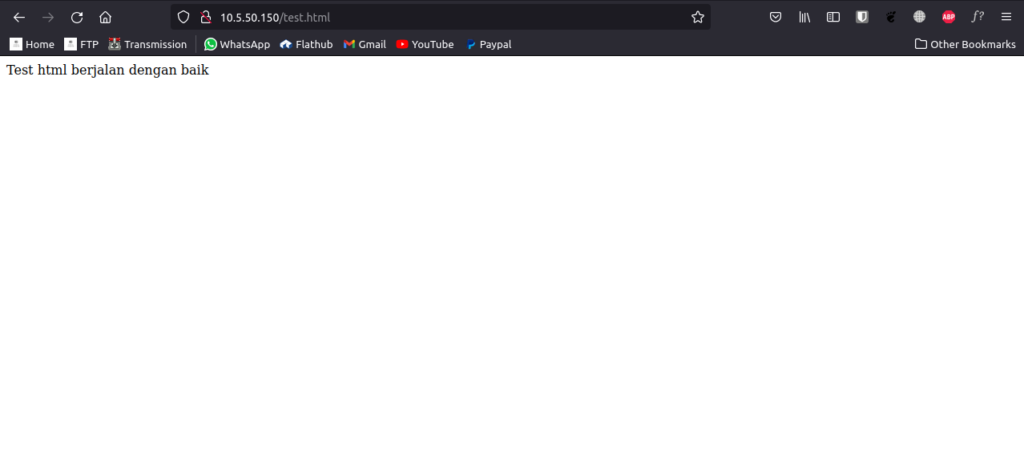
nano /var/www/html/test.htmlMasukkan ini kedalamnya
Test html berjalan dengan baikBuat sebuah file php untuk melihat informasi versi php yang dipakai
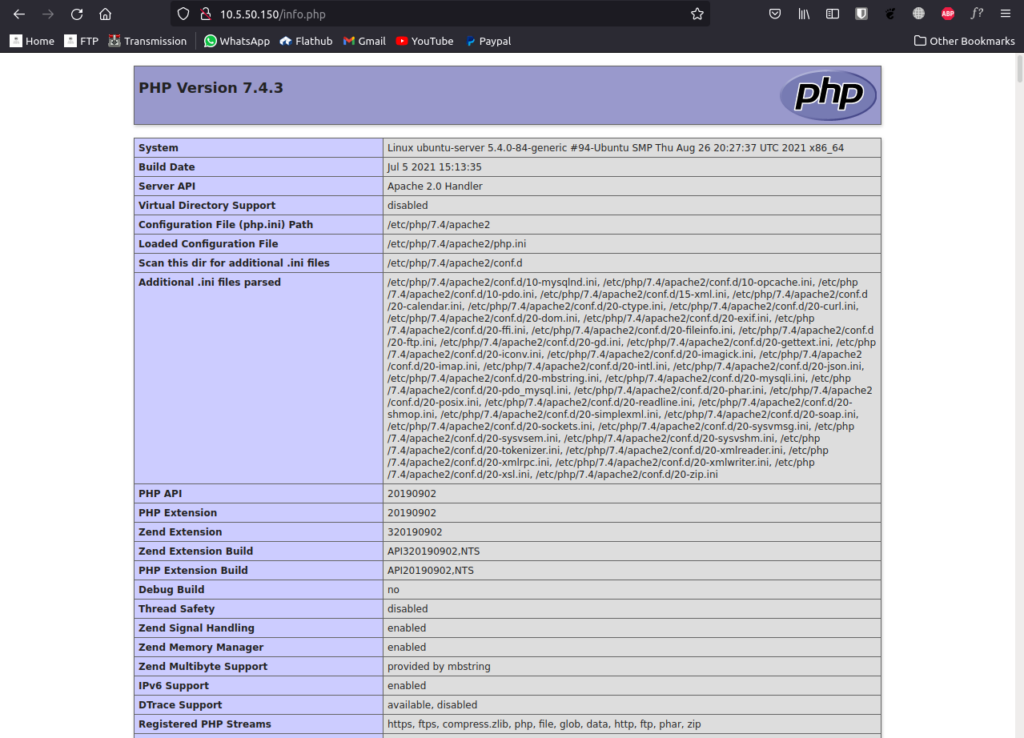
nano /var/www/html/info.phpMasukkan ini kedalamnya
<?php phpinfo( ); ?>Lalu akses IP server menggunakan web browser
192.168.200.2/test.hml
192.168.200.2/info.php
Hasil yang keluar kurang lebih seperti ini:
Konfigurasi
Membuat virtual host (optional jika tidak ingin menginstall di direktori default apache (/var/www/html))
*Pastikan DNS sudah diarahkan ke IP server tujuan
Membuat direktori untuk virtual host (Host block)
mkdir /var/www/namadomain.comMengubah kepemilikan dan perizinan direktori
chown -R www-data:www-data /var/www/namadomain.comchmod -R 775 namadomain.com/Membuat file konfigurasi virtual host
cd /etc/apache2/sites-available/nano namadomain.com.confMasukkan ini kedalamnya
<VirtualHost *:80>
    ServerName namadomain.com
    ServerAlias www.namadomain.com
    ServerAdmin [email protected]
    DocumentRoot /var/www/namadomain.com

    <Directory /var/www/namadomain.com>
        Options -Indexes +FollowSymLinks
        AllowOverride All
    </Directory>

    ErrorLog ${APACHE_LOG_DIR}/namadomain.com-error.log
    CustomLog ${APACHE_LOG_DIR}/namadomain.com-access.log combined
</VirtualHost>
Mengaktifkan konfigurasi
sudo a2ensite namadomain.com.confPastikan didalam direktori /etc/apache2/sites-enabled/ sudah terdapat file konfigurasi namadomain.com.conf
ls /etc/apache2/sites-enabled/Jika belum ada buat symlink (symbolic link) file /etc/apache2/sites-available/namadomain.com.conf ke /etc/apache2/sites-enabled/
ln -s /etc/apache2/sites-available/namadomain.com.conf /etc/apache2/sites-enabled/Cek syntax, apakah ada error/kesalahan penulisan
sudo apachectl configtestPastikan output yang keluar
Syntax OKRestart apache
sudo systemctl restart apache2Pengujian virtual host
Buat sebuah file html lalu simpan didalam direktori virtual host
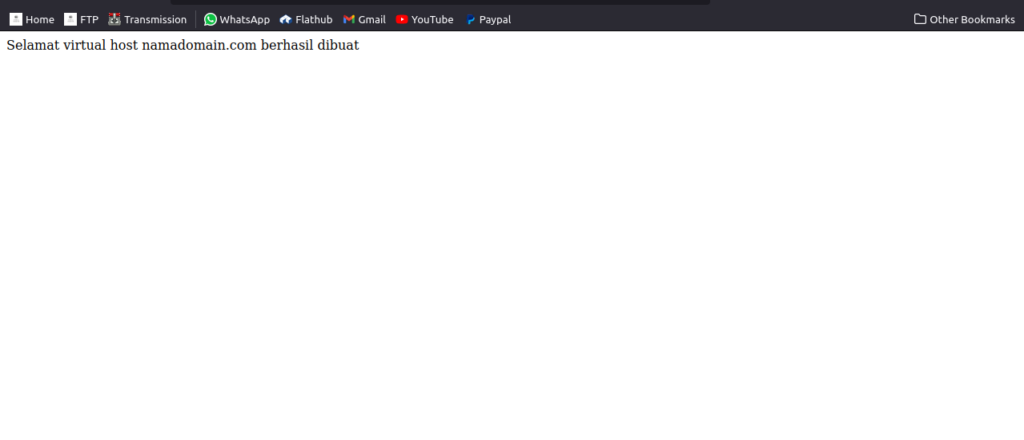
nano /var/www/namadomain.com/test.htmlMasukkan ini kedalamnya
Selamat virtual host namadomain.com berhasil dibuatBuat sebuah file php untuk melihat informasi versi php yang dipakai
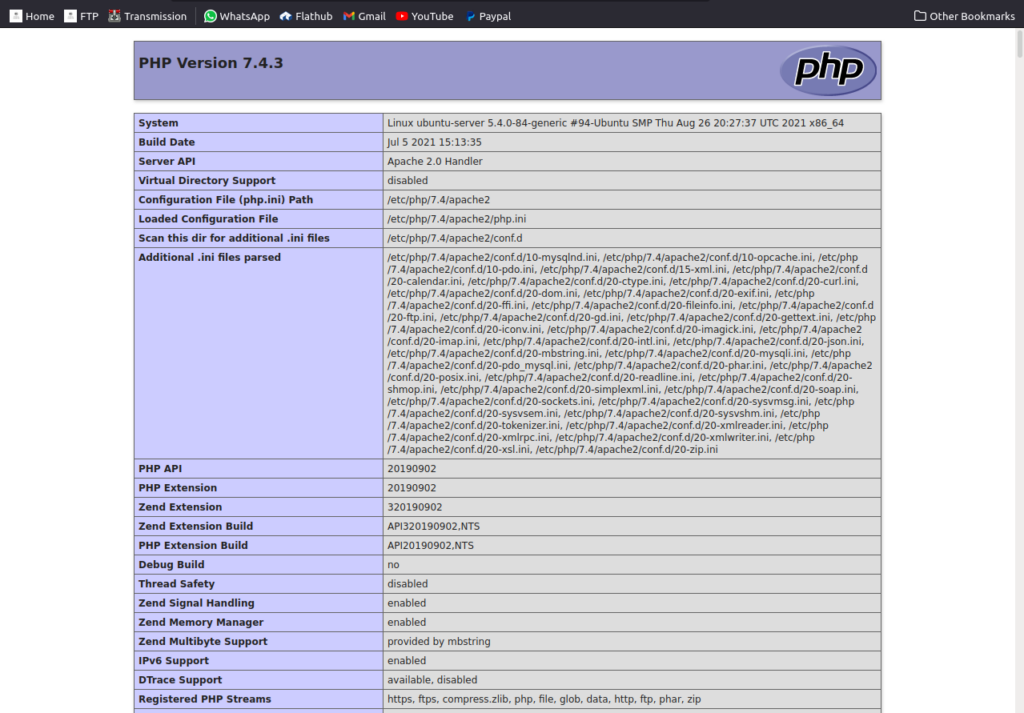
nano /var/www/html/info.phpMasukkan ini kedalamnya
<?php phpinfo( ); ?>Lalu akses menggunakan web browser
namadomain.com/test.hml
namadomain.com/info.php
Hasil yang keluar kurang lebih seperti ini:
Instalasi wordpress
Unduh source wordpress di situs resmi wordpress.org menggunakan wget atau browser
wget https://id.wordpress.org/latest-id_ID.tar.gzpindahkan file source wordpress ke /var/www/html/
mv filewordpress.tar.gz /var/www/namadomain.com/extract file wordpress yang di download tadi
tar xf /var/www/namadomain.com/filewordpress.tar.gzubah kepemilikan directory yang sudah di extract tadi
chown -R www-data:www-data /var/www/namadomain.comubah permission/izin
chmod -R 775 /var/www/namadomain.comInstalasi dan konfigurasi database
Install MariaDB (Alternatif MySQL)
sudo apt install mariadb-serverKonfigurasi
mysql_secure_installationJika muncul pertanyaan
NOTE: RUNNING ALL PARTS OF THIS SCRIPT IS RECOMMENDED FOR ALL MariaDB
      SERVERS IN PRODUCTION USE!  PLEASE READ EACH STEP CAREFULLY!

In order to log into MariaDB to secure it, we'll need the current
password for the root user.  If you've just installed MariaDB, and
you haven't set the root password yet, the password will be blank,
so you should just press enter here.

Enter current password for root (enter for none):
Tekan enter
Jika muncul pertanyaan
Setting the root password ensures that nobody can log into the MariaDB
root user without the proper authorisation.

Set root password? [Y/n] y
Jawab Y enter, lalu masukkan password root mysql baru
Jika muncul pertanyaan
By default, a MariaDB installation has an anonymous user, allowing anyone
to log into MariaDB without having to have a user account created for
them.  This is intended only for testing, and to make the installation
go a bit smoother.  You should remove them before moving into a
production environment.

Remove anonymous users? [Y/n] y
Jawab Y
Jika muncul pertanyaan
Remove anonymous users? [Y/n] yJawab Y
Jika muncul pertanyaan
Normally, root should only be allowed to connect from 'localhost'.  This
ensures that someone cannot guess at the root password from the network.

Disallow root login remotely? [Y/n] y
Jawab Y
Jika muncul pertanyaan
By default, MariaDB comes with a database named 'test' that anyone can
access.  This is also intended only for testing, and should be removed
before moving into a production environment.

Remove test database and access to it? [Y/n] y
Jawab Y
Jika muncul pertanyaan
Reloading the privilege tables will ensure that all changes made so far
will take effect immediately.

Reload privilege tables now? [Y/n] y
Jawab Y
Membuat database untuk wordpress
Masuk/login kedalam mysql
mysql -u root -pkatasandiMembuat database wordpress
create database namadbwordpress;Membuat user untuk mengelola database wordpress
CREATE USER 'namauser'@'localhost' IDENTIFIED BY 'katasandi';Mengizinkan user untuk mengelola database wordpress
GRANT ALL PRIVILEGES ON namadbwordpress.* TO 'namauser'@'localhost';FLUSH PRIVILEGES;Setup
http://namadomain/wordpress/readme.htmlatau, jika instalasi wordpress diluar folder wordpress
http://namadomain.com/readme.htmlsetup database
seuaikan dan isikan user database sesuai dengan akun yang telah kita buat saat mempersiapkan database di mysql
prefix database: wp_
Lanjutkan dan selesai